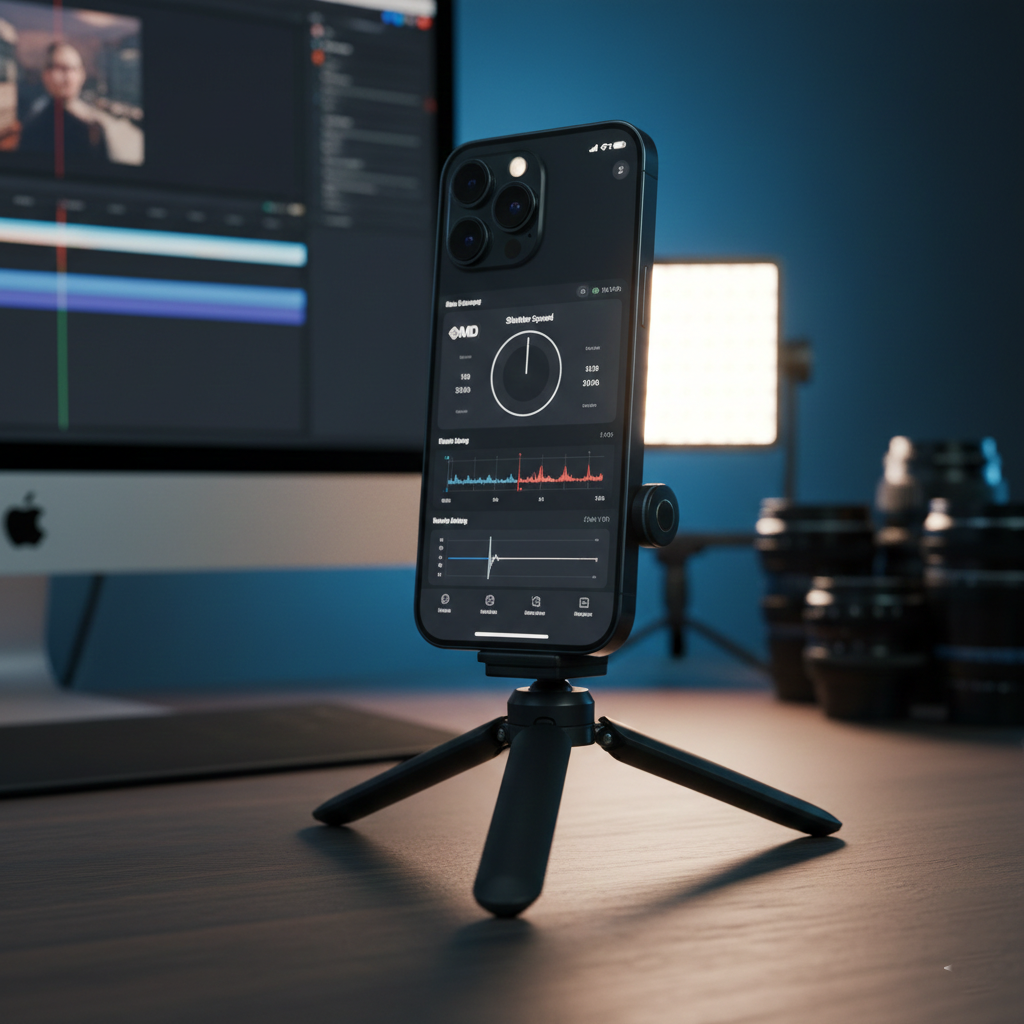
The Professional Setup
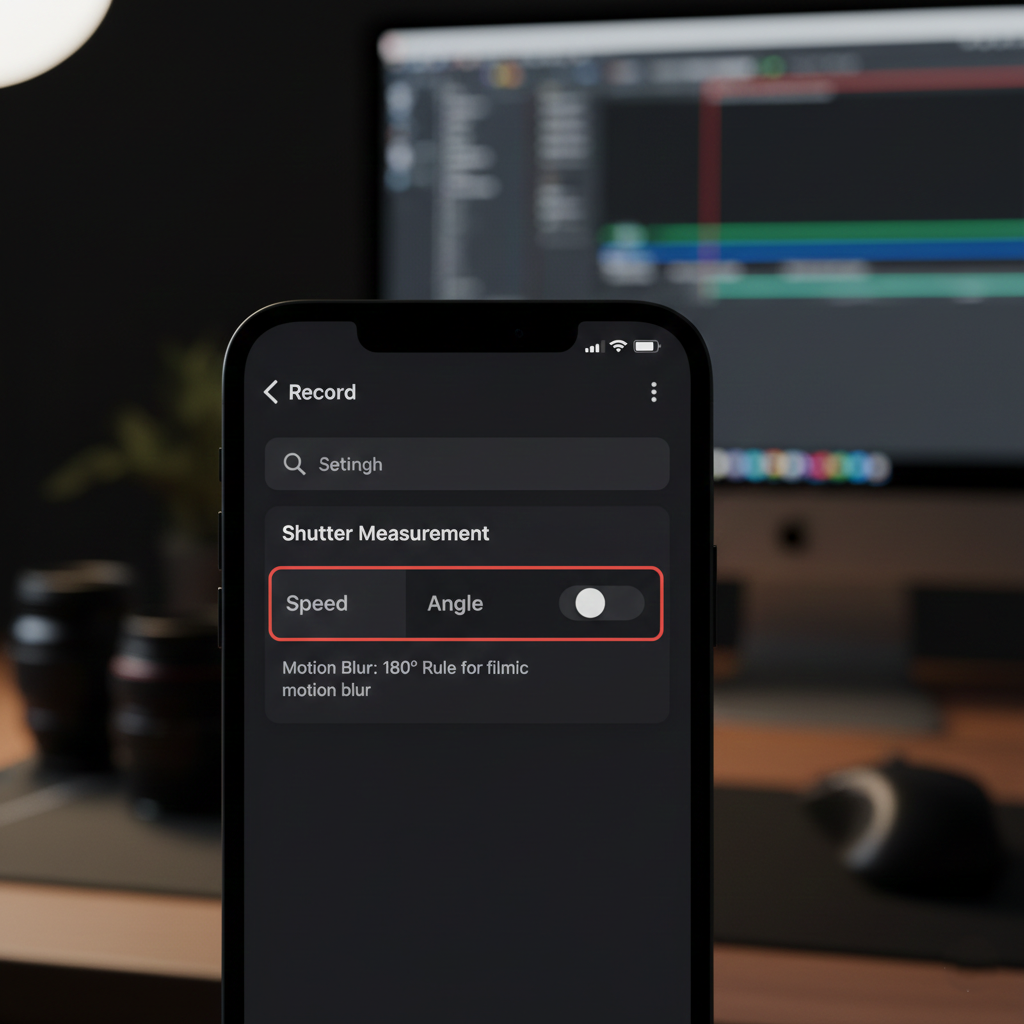
Shutter Measurement and Motion Blur
One of the first decisions you should make is how to display your shutter. Traditional photographers are used to fractions of a second (Speed), but filmmakers often prefer degrees (Angle). By selecting a 180-degree shutter angle, the app automatically adjusts your shutter speed to double your frame rate, ensuring natural-looking motion blur. This is a staple for achieving the “cinematic look.”
Manual Exposure and ISO
While the app offers Auto Exposure, professional results come from manual control. You can toggle Auto Exposure off to lock your ISO and shutter speed independently. For the cleanest image possible, aim to keep your ISO as low as the lighting conditions allow. This minimizes digital noise, especially in shadow areas.
Mastering Focus and Overlays
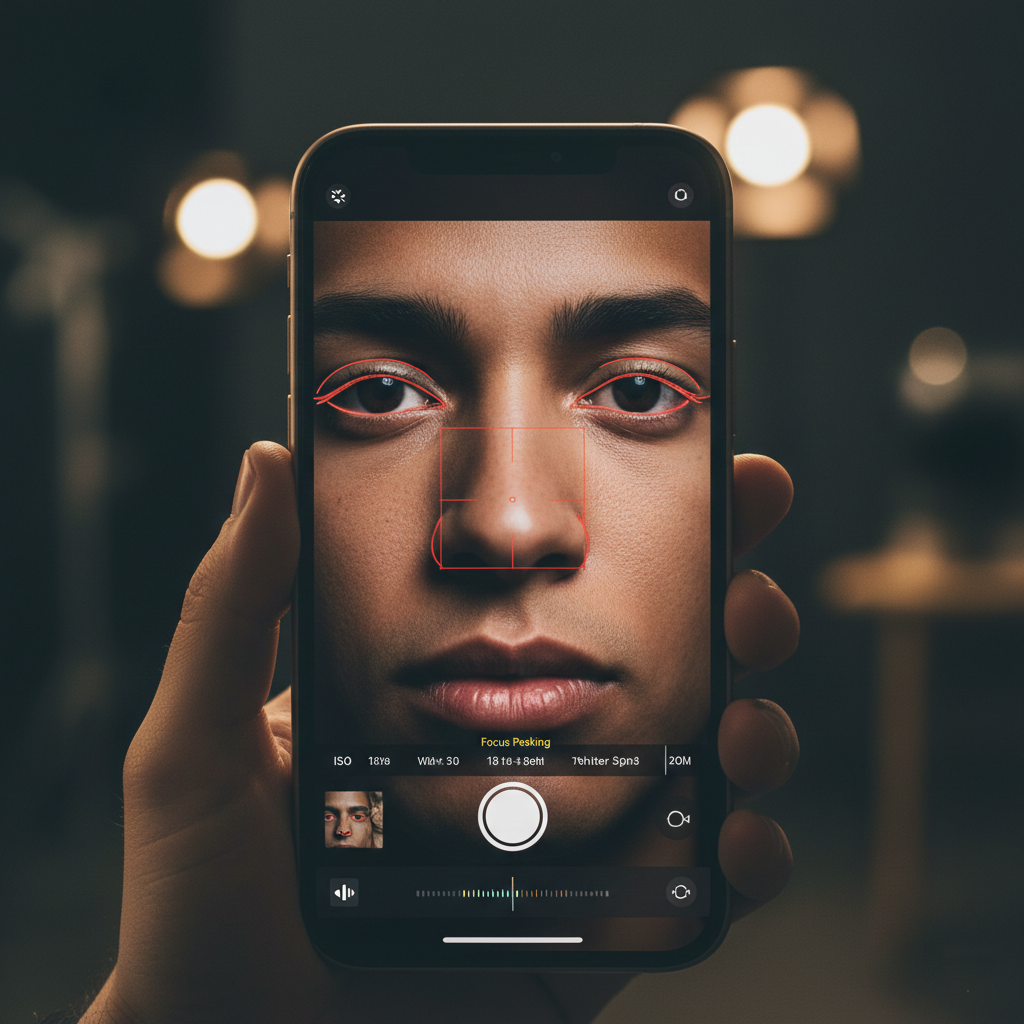
The app provides several focus tools, including a manual slider and haptic feedback. To ensure your subject is tack-sharp, enable focus peaking. This overlay highlights the high-contrast edges of your scene in a color of your choice (like red or green), giving you a clear visual indicator of exactly what is in focus.
Resolutions and Professional Codecs
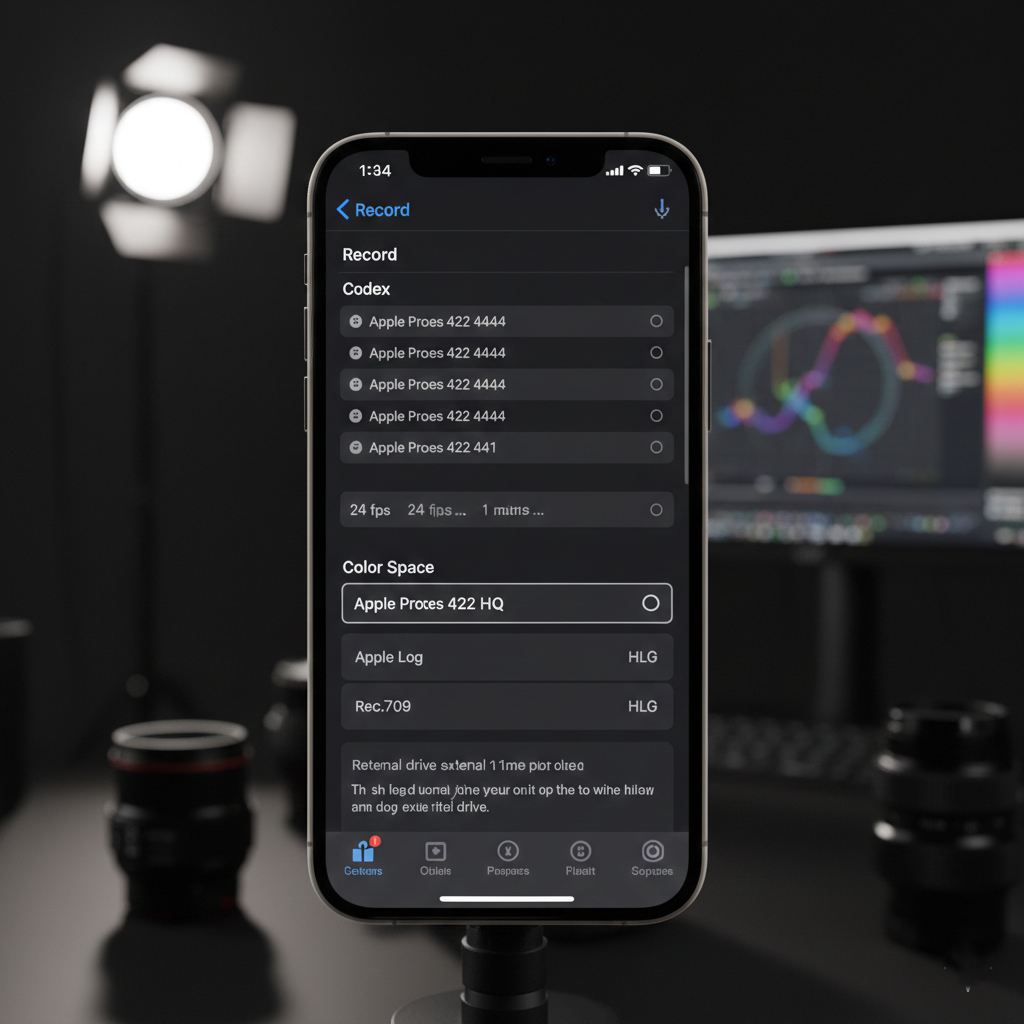
For maximum quality, shooting in 4K is highly recommended. The app supports various codecs, including the standard H.264 and H.265 (HEVC), as well as Apple ProRes for professional workflows.
- H.265: Best for saving space while maintaining high quality.
- ProRes 422 HQ: Provides the highest image information but creates significantly larger files.
- Apple Log: Available on newer iPhone Pro models, this allows for the widest dynamic range and is perfect for color grading in post-production.
Advanced Audio Control
Don’t neglect your audio. The app features detailed audio meters and allows you to select between built-in microphones or external sources. You can record in mono, stereo, or even dual-mono—which is particularly useful for recording two separate subjects on different tracks for easier editing.
Monitoring and Guides
Use the app’s extensive monitoring tools to frame your shots perfectly:
- Zebras: Overlays diagonal lines on overexposed areas to prevent blown-out highlights.
- False Color: Uses color mapping to show precise exposure values across the entire frame.
- Guides: Choose from standard grids like the Rule of Thirds or cinematic aspect ratio guides like 2.39:1.
Specialized Professional Features
For power users, the app supports recording directly to external USB-C drives—a must-have for large ProRes files. It also includes anamorphic desqueeze settings for those using conversion lenses and stabilization modes ranging from “Standard” to “Extreme” to keep your footage steady.
The Blackmagic Camera app transforms the iPhone into a legitimate professional camera. By taking the time to configure your shutter, exposure, and codecs correctly, you can produce footage that rivals dedicated cinema cameras. Experiment with these settings to find the workflow that best suits your creative vision.


Leave a comment